Defold: First Sprite and Player Game Object
Adding a player image to an atlas, placing it in the main collection, and keeping the pixels sharp when it is scaled up.
A PNG is not drawn directly in Defold. The image goes into an atlas, the atlas is assigned to a Sprite component, and the Sprite component belongs to a game object. The game object is then added to a collection.
player.png → sprites.atlas → Sprite component → player.go → main.collection
Assets and Atlas
Create an assets folder and add player.png to it. Right-click the folder, choose New → Atlas, and name it sprites.atlas.
Open sprites.atlas. In the Outline pane, right-click the atlas root and select Add Images, then select player.png.
The atlas is where Defold keeps the images used by sprites. The image name becomes the sprite name: player.png becomes player. More images can be added to the same atlas later, and animation groups can be made from a sequence of images.
Player Game Object
Create a new game object named player and save it as player.go. In its Outline pane, right-click the game object and choose Add Component → Sprite.
Set the Sprite properties:
- Image:
sprites.atlas - Default Animation:
player
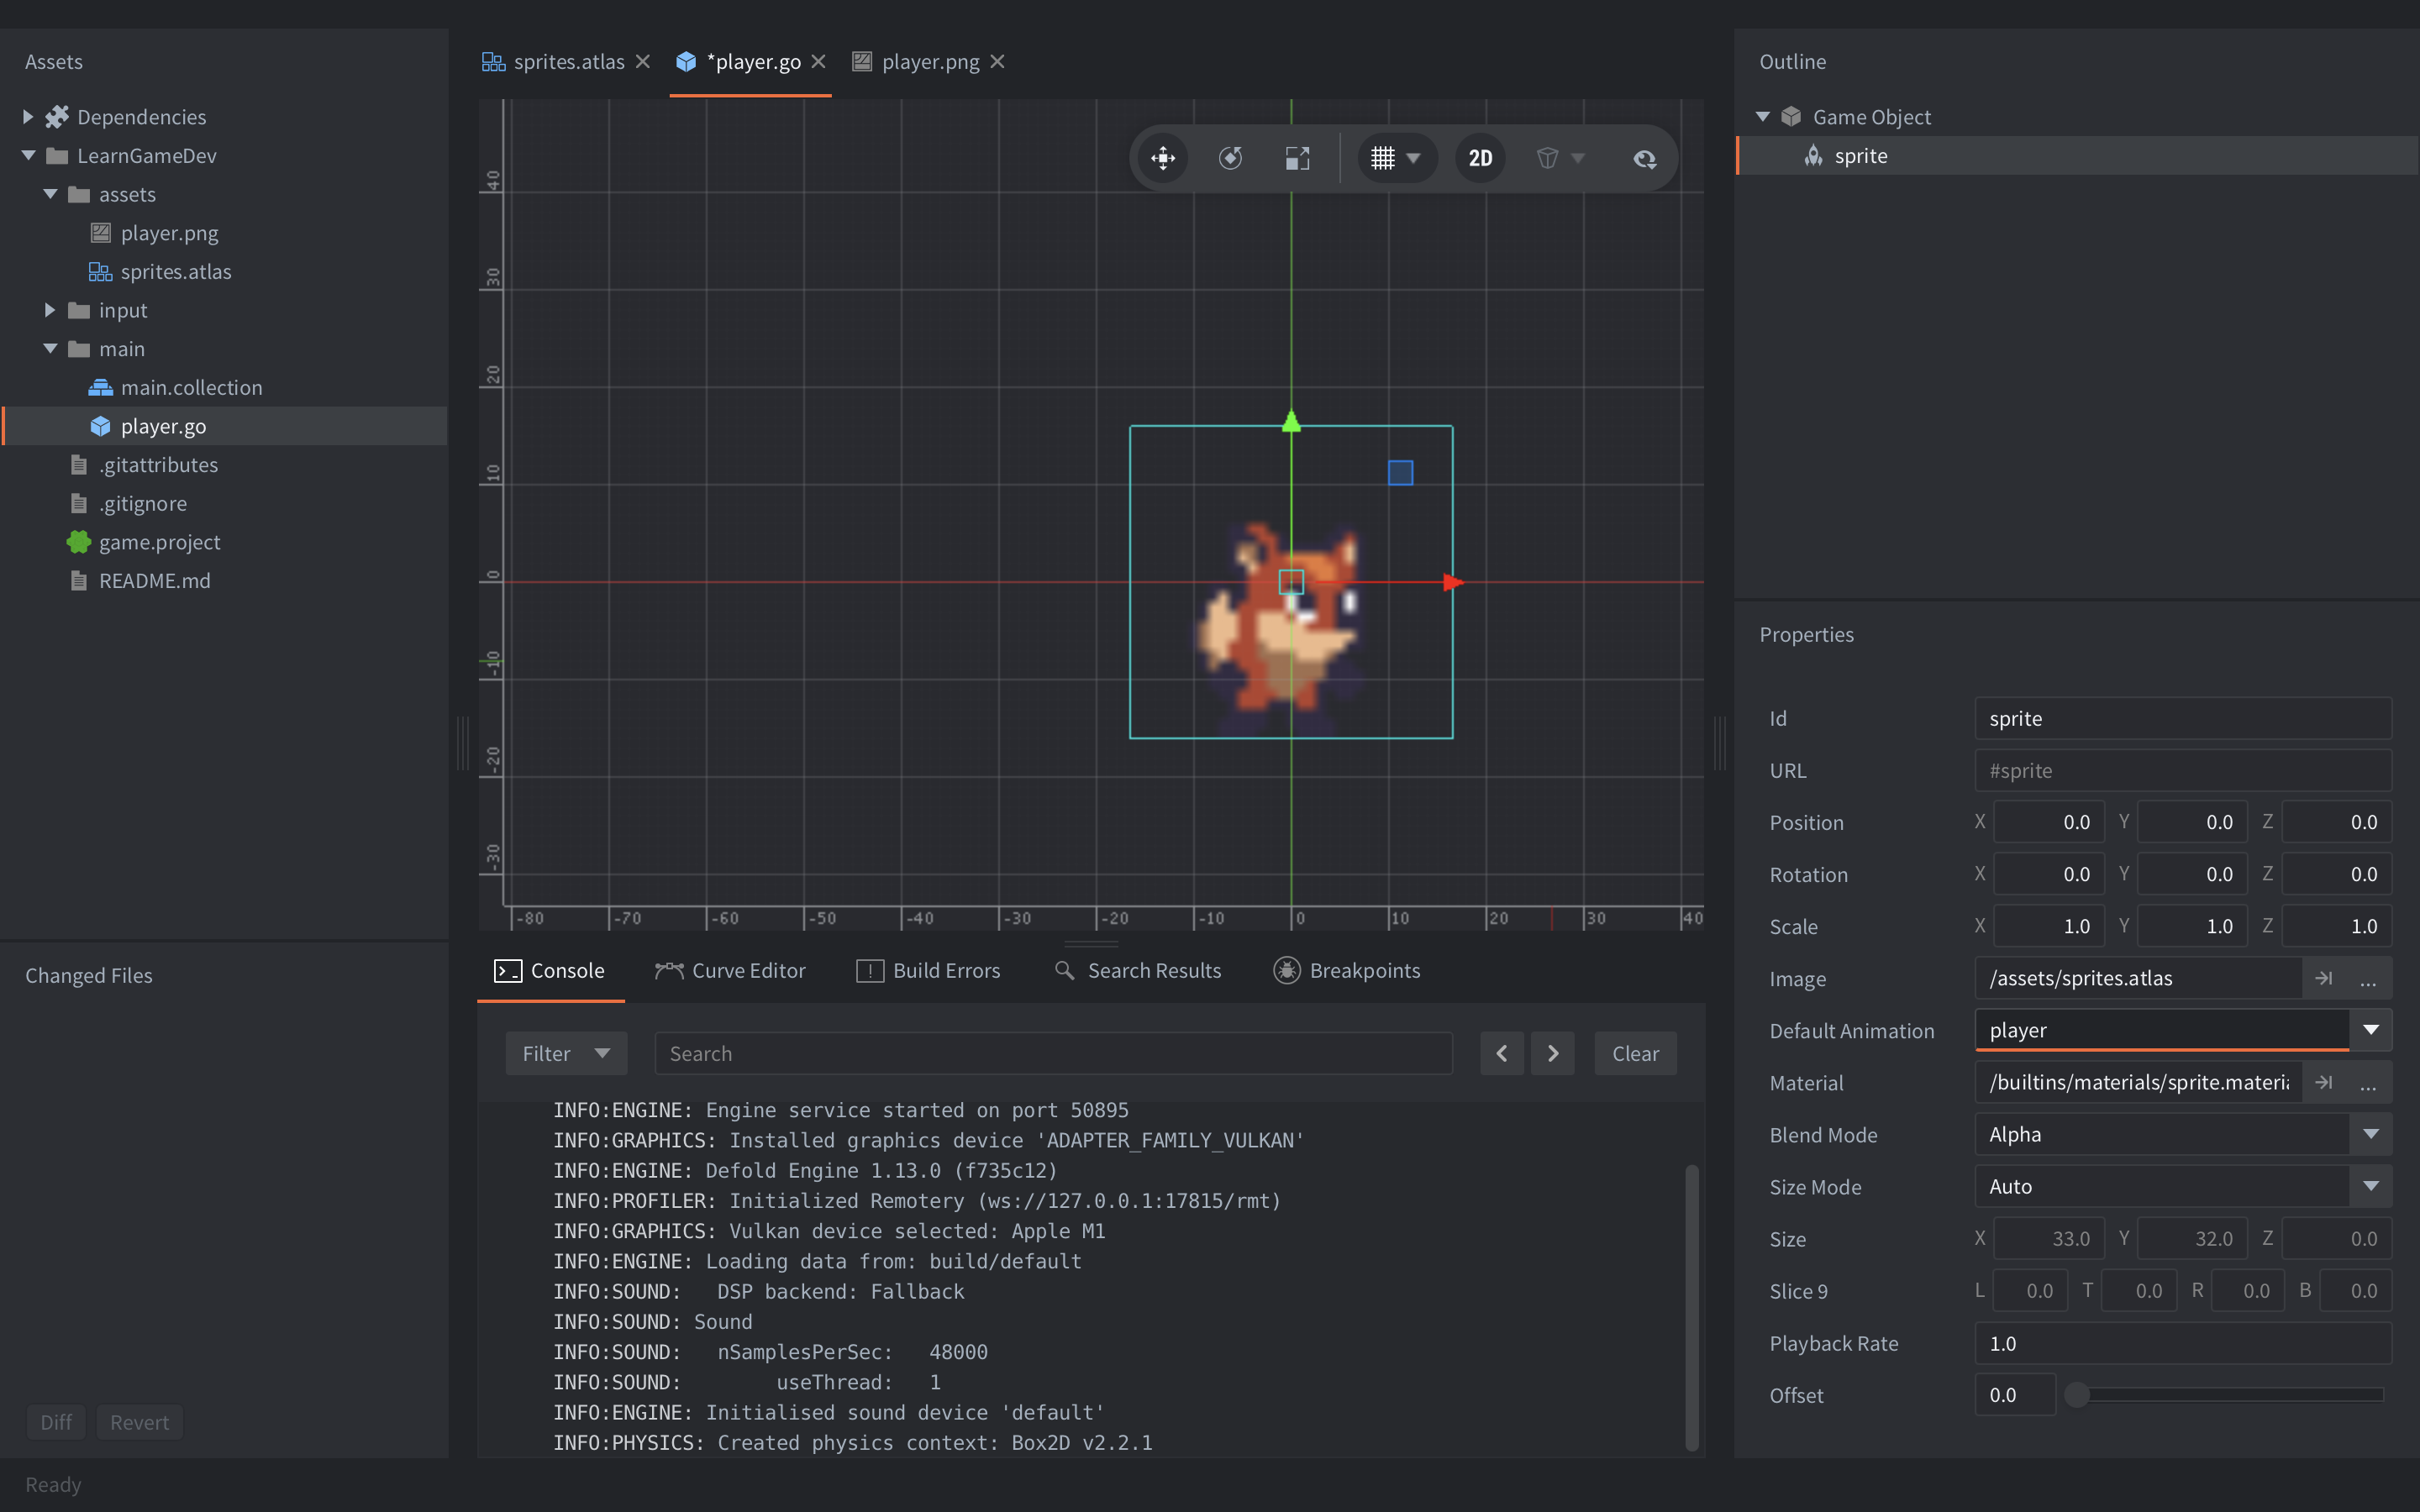
sprites.atlas with player selected as its default animation.player.go is the reusable game object file. The Sprite component tells it which image to draw. Position and scale belong to the game object, not the atlas.
Adding the Player to the Collection
Open main.collection. Right-click Collection in the Outline pane, select Add New Game Object File, and choose player.go.
Running the project at this point can still show a black screen. The player instance starts at its default position, so it may not be in the visible part of the game.
Putting the Player in the Centre
Set the game window under Display in game.project. For a 960 × 640 window, the centre is:
X = 960 / 2 = 480
Y = 640 / 2 = 320
Select the player instance in main.collection and set its position to X: 480 and Y: 320. Run the game again. The player appears in the centre of the window.
Scaling the Sprite
The player image is small at its original size. Set Scale X and Scale Y to 3, with Scale Z set to 0. The atlas image stays the same; only the game object is drawn larger.
Crisp Pixel Art
Scaling can make pixel art blurry because the renderer blends the pixels together. Open game.project, then under Graphics set both of these to Nearest:
- Default Texture Min Filter
- Default Texture Mag Filter
Run the game again. The player stays centred, appears three times larger, and keeps the hard pixel edges from the original sprite.